


It’s funny how things just sort of “happen” at times. Like recently, I was working on the ViperDex (indeed, an update is coming soon!) and I was delving into some information regarding the Gen 5 color Stryker Red. How long it takes to create, amount of paint coats, etc. In the midst of that research, I returned to a little nugget of info from earlier in the session discussing the paint process itself. To create Stryker Red, Prefix started with an orange base coat and then layered translucent red on top to build up that part of Stryker Red. This is why, as you can see in the photo below, Stryker Red has that gold highlight when the sun hits the paint.


This eventually got me thinking: “What if I tried the same or similar method in FH5?” I’ve already attempted this before in FM7 with a blue paintjob, and the game’s interpretation of Stryker Red is severely lacking in the… well, in a lot of important departments that make the color what it is. Thus began the replication process…
Now let me stop you right there, the layering technique used for the real car does not work in Forza Horizon 5. When using decals, you can’t make the paint type polished or metallic. Gloss or Matte yes, but not polished or metallic. This Gloss or Matte binary leads to a metallic orange base coat with a decidedly flat red mid-coat. Obviously wrong, and obviously unappealing, so here’s how it’s actually done…
The Deets:

Like with Snakeskin green, you’re first going to the “Special Colors” tab and scroll down till you see “Two-Tone Polished”. Once you’ve done that, you’re going to hit “X” or whatever is assigned to “Dual Color Fine Tune” (this is where the real fun begins).
Starting with the Lowlight Settings, we begin with hue. Your hue should be set to 0.01 (one click below 0.02). Alternatively, you can go to 0.02 –one click above 0.01– for a marginally more orange tint. For saturation, the maximum of 1.00 is required. Then for brightness, 0.80 is the magic number (one click above 0.79).
For the Highlight Settings, your hue will be set to 0.00, the saturation all the way up to 1.00 again, and the brightness to 0.90 (one click above 0.89).
Now it’s time to admire!

And there you have it, you are now the proud virtual owner of a Stryker Red car in Forza Horizon 5! I hope you found this tutorial helpful, and do please let me know what you think in the comments below.


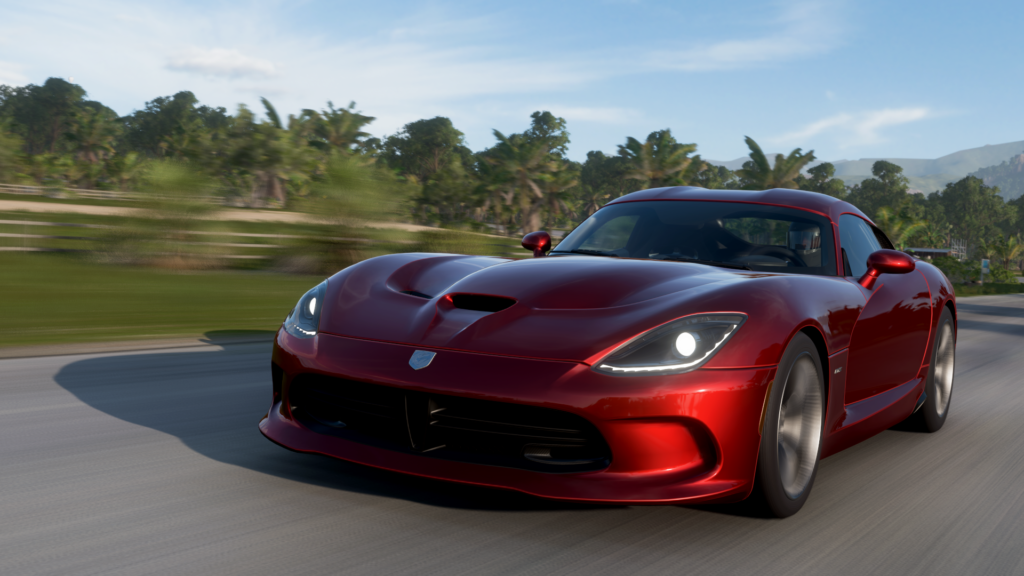
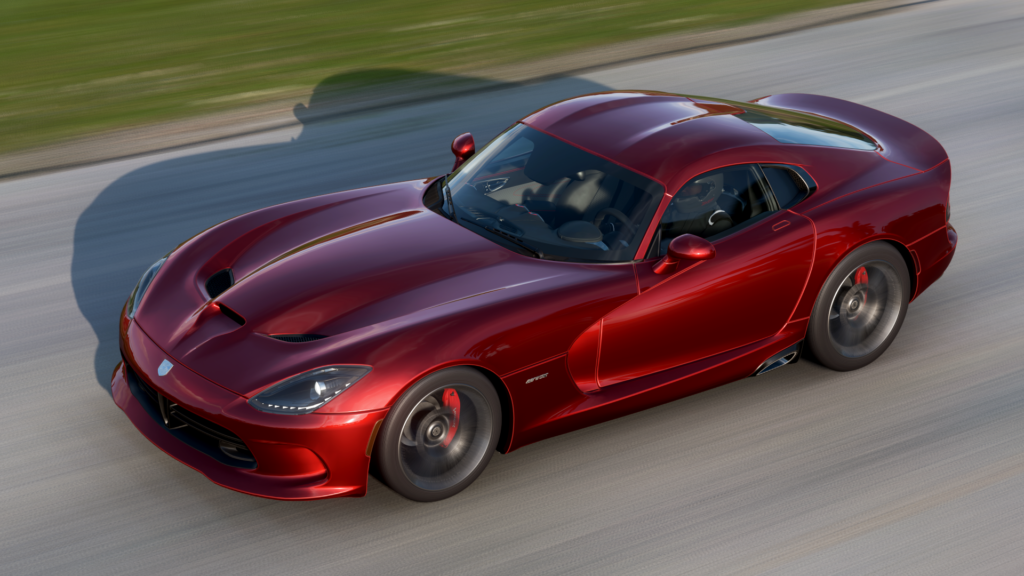
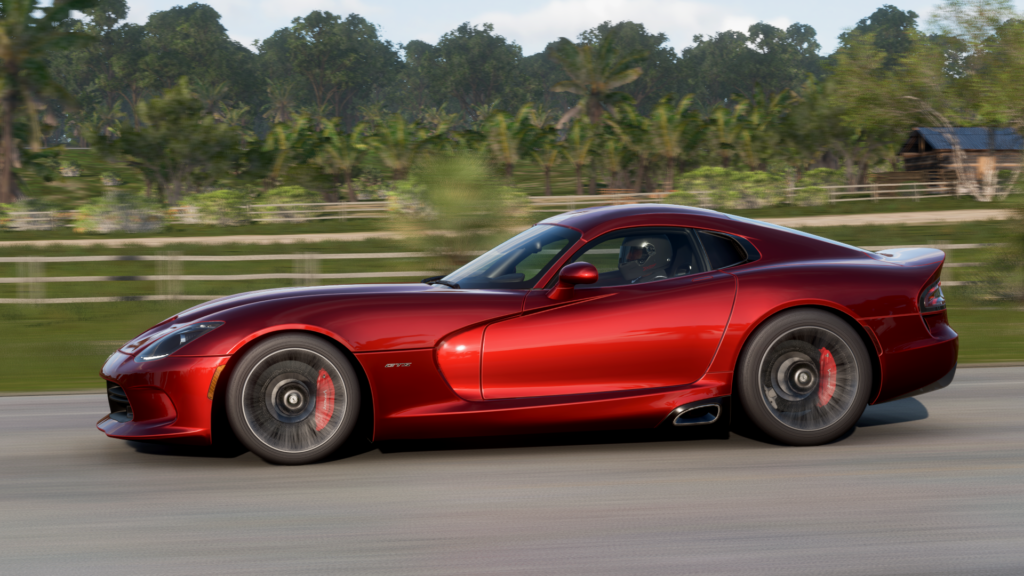


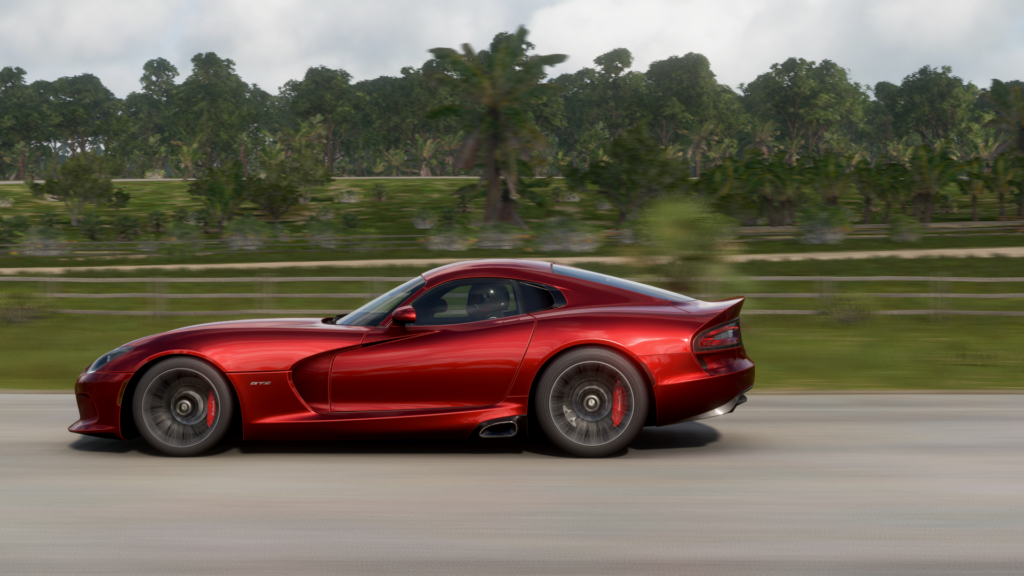

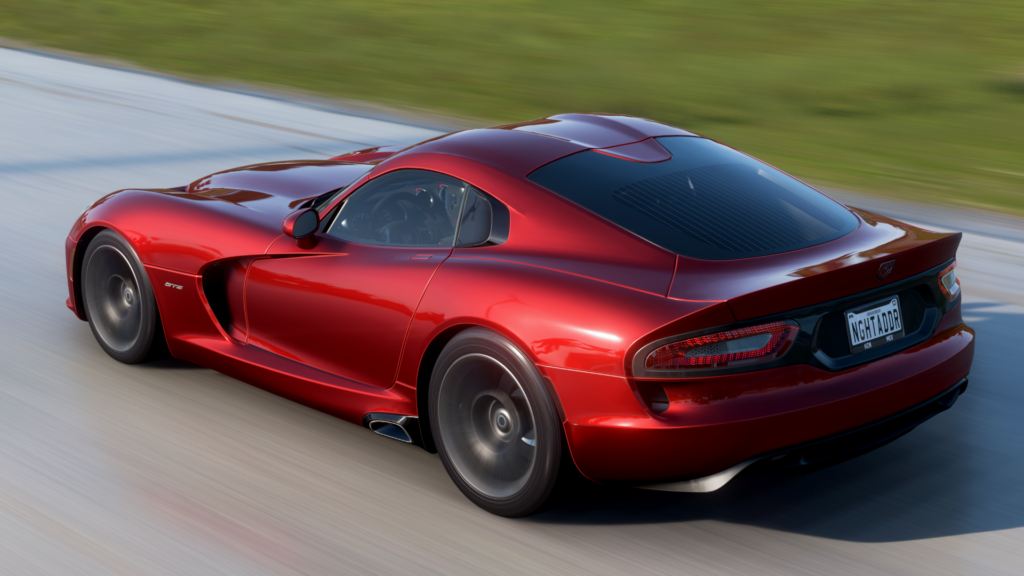


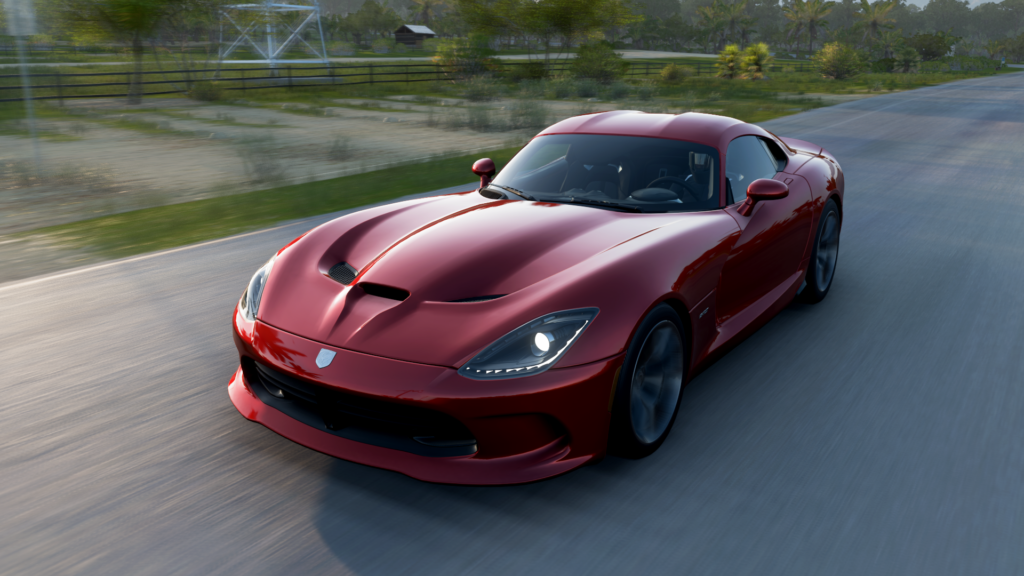


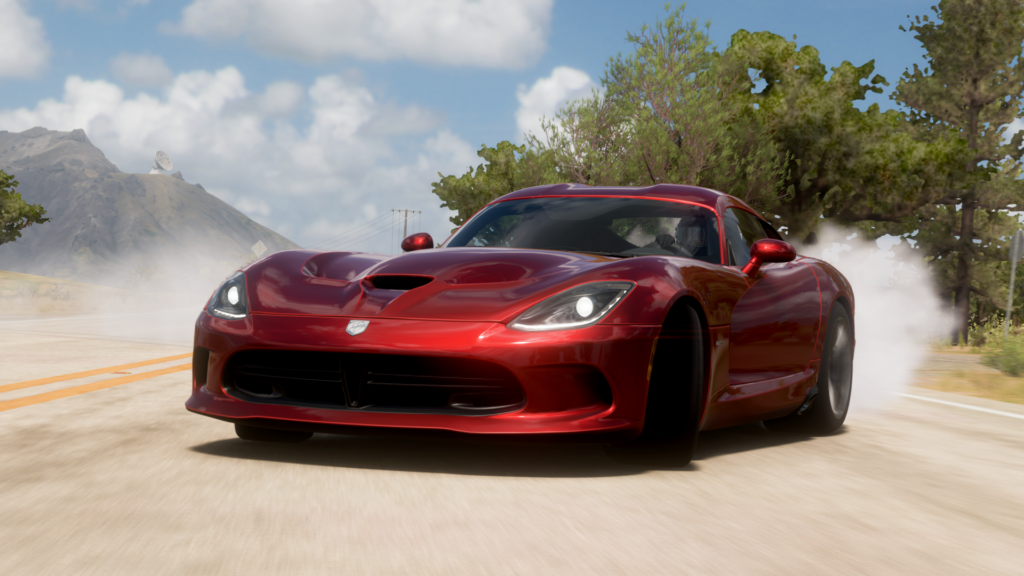
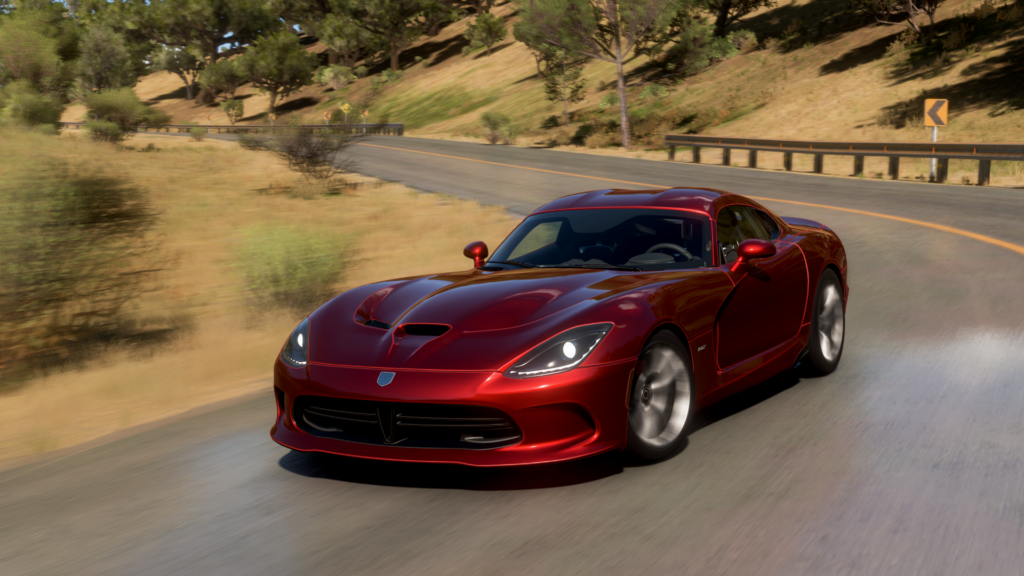
Before we end though, I do want to concede something about the color first. Those with keen eyes will notice that the gold undercoat present in the real Stryker Red isn’t quite there in its virtual counterpart. Sadly, the game has its limitations regarding complex paint jobs like this, and trying to add more orange wasn’t a change being made in a vacuum. That is to say, adding more orange in the base coat had a noticeable impact on the red top coat, making it progressively less red and progressively more of a murky orange. Thus necessitating as little orange as possible to reach the desired level of red. It’s not perfect, but it’s unquestionably better than the poor excuse of a Stryker Red the game tries to pass off.